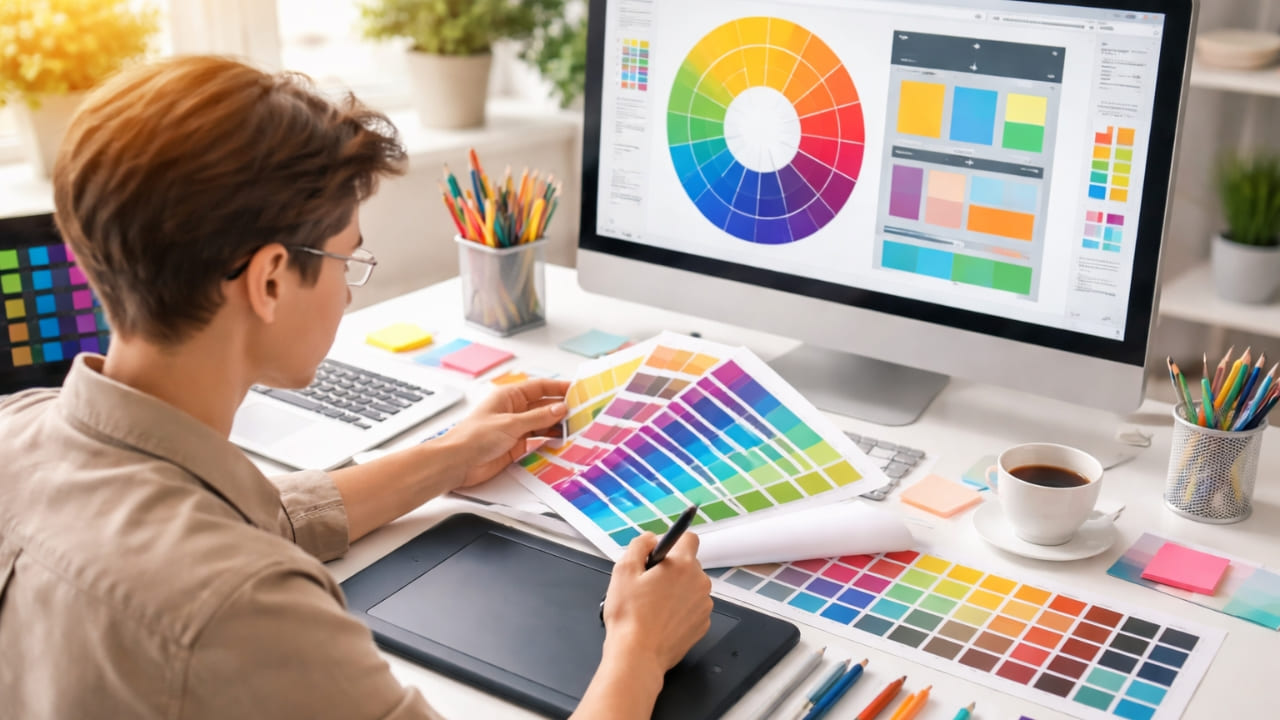
Let’s be real for a second. It's 2 AM during finals week. The library is suspiciously quiet, you’re four coffees deep, and the exam is tomorrow morning. You know the exact slide you need—it’s the one where the professor explained that complex diagram in Week 6. Or was it Week 8?
You open your "Downloads" folder, and it’s a graveyard of files. lecture_v2_final.pdf,
syllabus_updated.pdf, and about twenty photos named IMG_5502.jpg (those
whiteboard snapshots you swore you’d organize later).
This is what experts call "friction." When you are trying to cram a semester's worth of knowledge into your brain in 12 hours, every second you spend hunting for a file is a second you aren’t learning. It drains your mental battery before you even start reading.
But there is a better way. The top-performing students—the ones who seem calm while everyone else is panicking—usually have a secret weapon: The Master Study Guide.
This isn't just about being neat. It's about creating a single, searchable "second brain" that holds every slide, reading, and note from the entire course. Here is how you can use NanoZipt to turn your digital chaos into a streamlined exam weapon.
Why the "One-File" Strategy Works
The magic of merging your files comes down to two things: Context and Searchability.
When your notes are scattered, your brain treats them as separate islands of information. When you merge them, you start seeing the bridges between them. You can see how the concept from Week 2 connects to the case study in Week 12 because they are literally a scroll away from each other.
Plus, the ultimate superpower: Ctrl + F (or Cmd + F). Imagine searching for "mitochondria" and instantly seeing every mention of it across 15 weeks of lectures. That is how you crush an open-book exam.

Phase 1: The Digital Excavation
First, we need to gather your raw materials. Create a folder on your desktop named
[Course Code] Raw. Go to your student portal (Canvas, Blackboard, Moodle) and download
everything.
The Obstacle: You likely have photos of handwritten notes or whiteboard scribbles on your phone. These are JPEGs, and they don't play nice with PDF readers.
The Solution: Use the JPG to PDF Converter.
- Select all those whiteboard photos.
- Drag them into NanoZipt.
- Convert them into PDF pages. Now, your "dumb" images are document-ready pages that can live alongside your lecture slides.
Phase 2: The Great Filter
More data isn't always better. Your professor probably included "Welcome Back" slides, assignment instructions from September, or outdated announcements. These are distractions.
Before merging, use the PDF Organizer Tool to clean up your act.
- Delete the Noise: Remove title slides that don't have content. If it won't be on the test, it doesn't belong in the guide.
- Fix the Orientation: We've all had that one scan that's sideways. Rotate it now so you don't break your neck in the library later.
- Reorder Logic: Sometimes professors teach topics out of order. Move the slides around so the narrative makes sense to you.
Phase 3: Unification
This is the satisfying part. You have your clean, converted, and curated files. Now we build the beast.
Head over to the Merge PDF Tool.
- Drag & Drop: Pull all your files into the upload zone.
- Chronological Sorting: This is critical. Make sure Week 1 is at the top and
Week 15 is at the bottom. Use filenames like
01_Intro.pdfand02_BioChem.pdfto force them into order automatically. - Merge: Click the button. In seconds, NanoZipt stitches them into one unified document.
- Save: Download it as
MASTER_GUIDE_BIO101.pdf.
Why Trust NanoZipt with Your Notes?
We know your notes are your lifeline. That's why NanoZipt is built differently.
1. Zero Uploads: We use Client-Side Processing. Your files are merged right there in your browser. They never travel to our servers, so your intellectual property stays yours.
2. Library Wi-Fi Friendly: Since we aren't uploading massive files to the cloud, the process works instantly—even on dodgy campus Wi-Fi.
Phase 4: Optimization for Speed
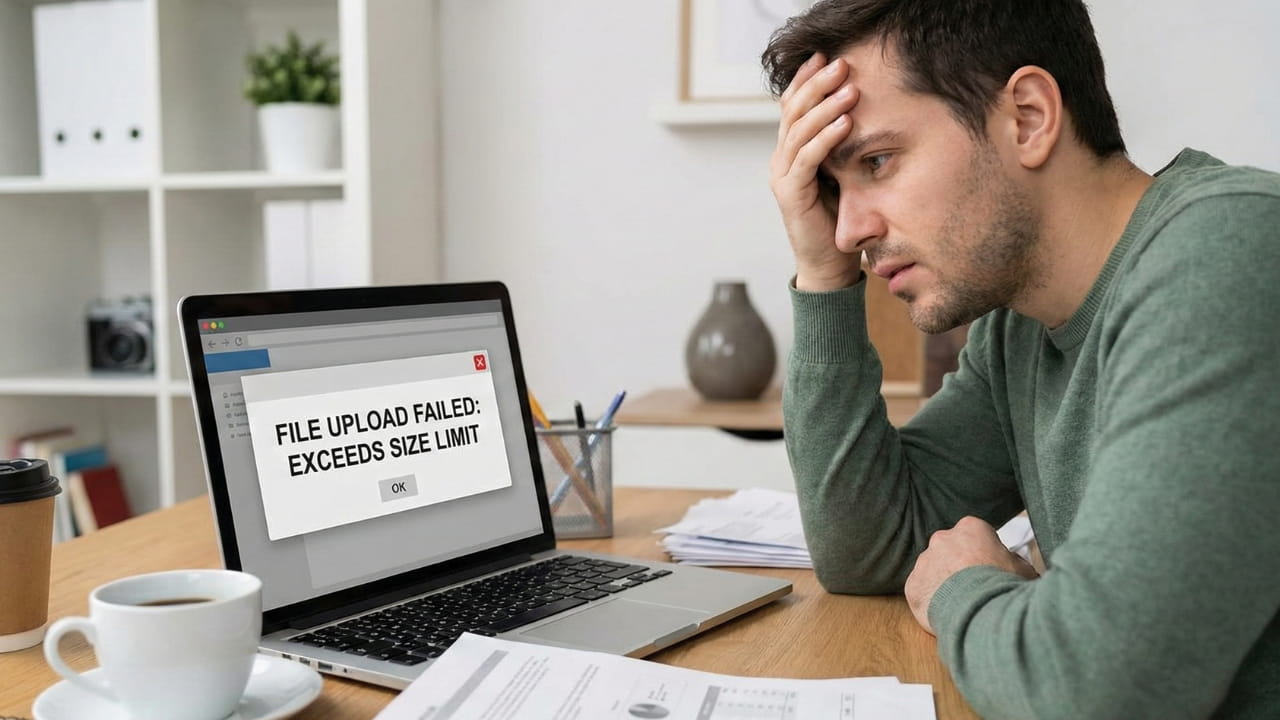
You've created a monster. Your Master Guide might be 300MB or larger, especially if it's full of high-res scans. A file that big will crash your iPad app and lag your laptop when you try to scroll quickly.
The Final Polish: Run your new Master Guide through the PDF Compressor.
Select the "Recommended" compression level. This uses smart algorithms to shrink the file size (often by 70% or more) without making the text blurry. Now you have a sleek, 40MB file that opens instantly on your phone while you're waiting for the bus.
How to Study Like a Pro
Congratulations, you're organized. Now, how do you actually learn this stuff?
- The Syllabus Check: Keep your course syllabus as the very first page of your Master Guide. Use it as a checklist. Cross off topics as you master them.
- Digital Annotation: Import your Master Guide into an app like GoodNotes, Notability, or OneNote. Use the highlighter tool to color-code concepts (e.g., Definitions in Yellow, Dates in Blue).
- Search to Synthesize: Don't just read passively. Ask yourself questions like "How does this relate to Week 1?" and use Ctrl+F to find the connection immediately.
Conclusion
Organization is often mistaken for procrastination, but it's actually preparation. By spending 20 minutes building a Master Study Guide today, you are saving yourself hours of panic tomorrow.
Clear your files, clear your mind. Build your guide with NanoZipt, grab one last coffee, and go crush that exam. You've got this.